This documentation describes a release under development. Documentation for the latest release, 3.6.2, can be found here.
Query
You can use Mitto’s Query plugin to create a relational database table from any SQL query against any relational database.
The source database and destination database can be Mitto’s built in PostgreSQL database or any other remote database (e.g. Snowflake, Amazon Redshift, Microsoft SQL Server, etc).
This is the preferred way to mirror data from other databases.
Caveats
Mitto needs network access to the source and destination databases. This typically means whitelisting IP addresses on potentially both sides (remote database server and Mitto).
Create a Query Job
Start creating the job:
Click “+ Add Job”.
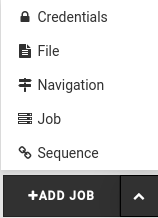
Select “Query”.
Write the database query:
You will see a screen like this:

Database URL
Learn more about Database URLs here.
Encrypting Username and Password
Learn how to store and encrypt your database username and password to be used in a query string.
Query
Type the query you want to create a table from in the Query area.
It is a good practice to fully qualify your tables by including the schema of the table.
So for example if you want to mirror an entire table:
SELECT *
FROM <schema>.<table>;
Specify the output
Hit Next and specify the job title. Edit the schema and table you want to use at the output destination for the query results.
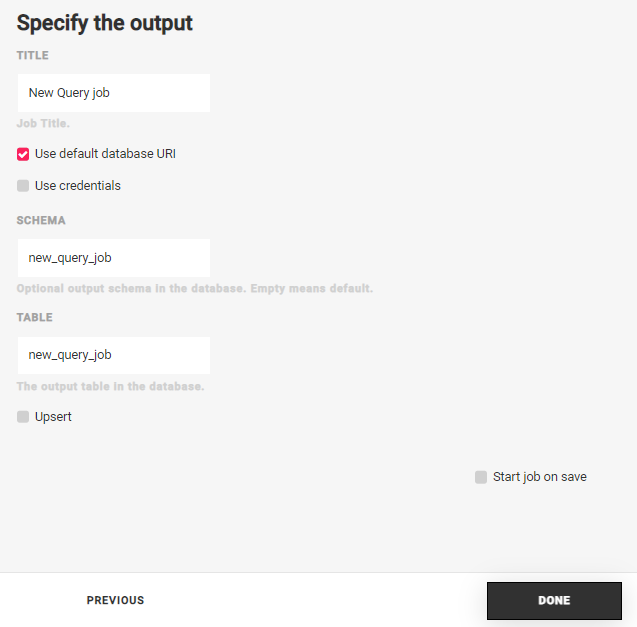
You can enable Upsert by checking the Upsert box.
Learn more about upsert at the bottom of this document.
Hit Save.
Go run the job!
Upsert
Any Mitto Query job can be configured for upsert.
In addition to the standard additional steps for required for upsert,
the job config’s input requires one additional parameter,
last_modified_column.
Here’s an example of specifying the last_modified_column:
"input": {
        "dbo": "...",
        "query": [
            "..."
        ],
        "last_modified_column": "updated_at",
        "use": "query.io#QueryInput"
    },
The input’s query has a column named updated_at that serves as the last_modified_column.
Reflection
The default behavior in Mitto is to learn the structure of data as it is piped. This is useful for data coming from APIs and flat files where there may not be a schema or data types.
This process is handled by the ExtraColumnsTransform and ColumnsTransform``transforms of the #Input step:
"steps": [
    {
        "transforms": [
            {
                "use": "mitto.iov2.transform#ExtraColumnsTransform"
            },
            {
                "use": "mitto.iov2.transform#ColumnsTransform"
            }
        ],
        "use": "mitto.iov2.steps#Input"
    },
    ...
]
However, when using databases as a source, as in Query jobs, Mitto can leverage the source database table’s schema. This is referred to as reflection. The result is that the output table can exactly mirror the input table with column names and data types.
NOTE: Reflection typically only makes sense for a SELECT * query.
To use reflect, in the steps of the job config, update the transforms array of the #Input step to this:
 "steps": [
     {
        "transforms": [
            {
                "use": "mitto.iov2.transform#ReflectTransform",
                "dbo": "{driver}://{username}:{password}@{server}:{port}/{database}",
                "schema": "{schema}",
                "tablename": "{tablename}"
            }
        ],
        "use": "mitto.iov2.steps#Input"
    },
    ...
]
dbo - This is the database url of the table you are reflecting. This should match the exact
dbofrom the job’sInput.schema - This is the schema of the input table you are reflecting.
tablename - This is the table name of the input table you are reflecting.